

How To Get An App ID and Secret Key From Facebook
In order to connect to Facebook’s Graph API and use this plugin, you’ll need to register a free app with Facebook, and thereby generate an App ID and Secret Key. Don’t worry – its free, takes less than 30 seconds, and we’ll walk you through it here.
Before You Begin: Make Your Facebook Page Public
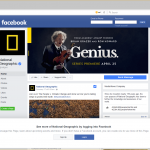
In order to display your Facebook posts on your website, you’ll need to be sure that your Facebook page is Public. If its not, you won’t be able to see any Facebook posts on your website, and this plugin will not work. The best way to check if your Facebook page is public is to…
How To Configure the WP Social Plugin for First Use
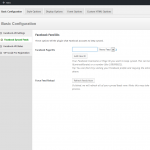
These are you basic Configuration Options. These settings enable the plugin to interface with your Facebook Page Step One: Acquire an App ID and Secret Key from Facebook First, read our tutorial on how to get an App ID and Secret Key from Facebook. Login to your WordPress site and navigate to WP Social’s settings…
How To Check Your Connection To The Facebook Graph API
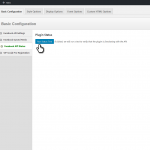
After adding your App ID and Secret Key, and adding a new Page ID to your Feeds, you’ll want to test and be sure things are working correctly. This guide will walk you through using the Facebook API Status test to check your connection to the Graph API. Step One: Navigate to Basic Options »…
How To Configure WP Social Style Options
In this guide, we will give an overview of the 4 different Style Options tabs that are available to WP Social Pro users.
How To Configure WP Social Display Options
In this guide, we will give an overview of the options that allow control over the Facebook fields displayed inside your feed. On the Fields to Display tab, you will find options allowing you to show and hide myriad bits of information in the feed. On the Advanced Display Options tab, you will find options…
Read below for instructions on how to configure our advanced options and display feeds, photos, and events.
Pro Options
How To Output The Feed
- How To Output A Facebook Feed In Your Sidebar
- How To Output A Facebook Feed in a Page or Post
- How To Output A Facebook Feed in Your WordPress Theme
- How To Add Facebook Like Button to any Page or Post
- How To Add A Facebook Like Button to Your WordPress Theme
How To Output a Photo Gallery
How To Output an Event Feed
Pro Custom HTML Options
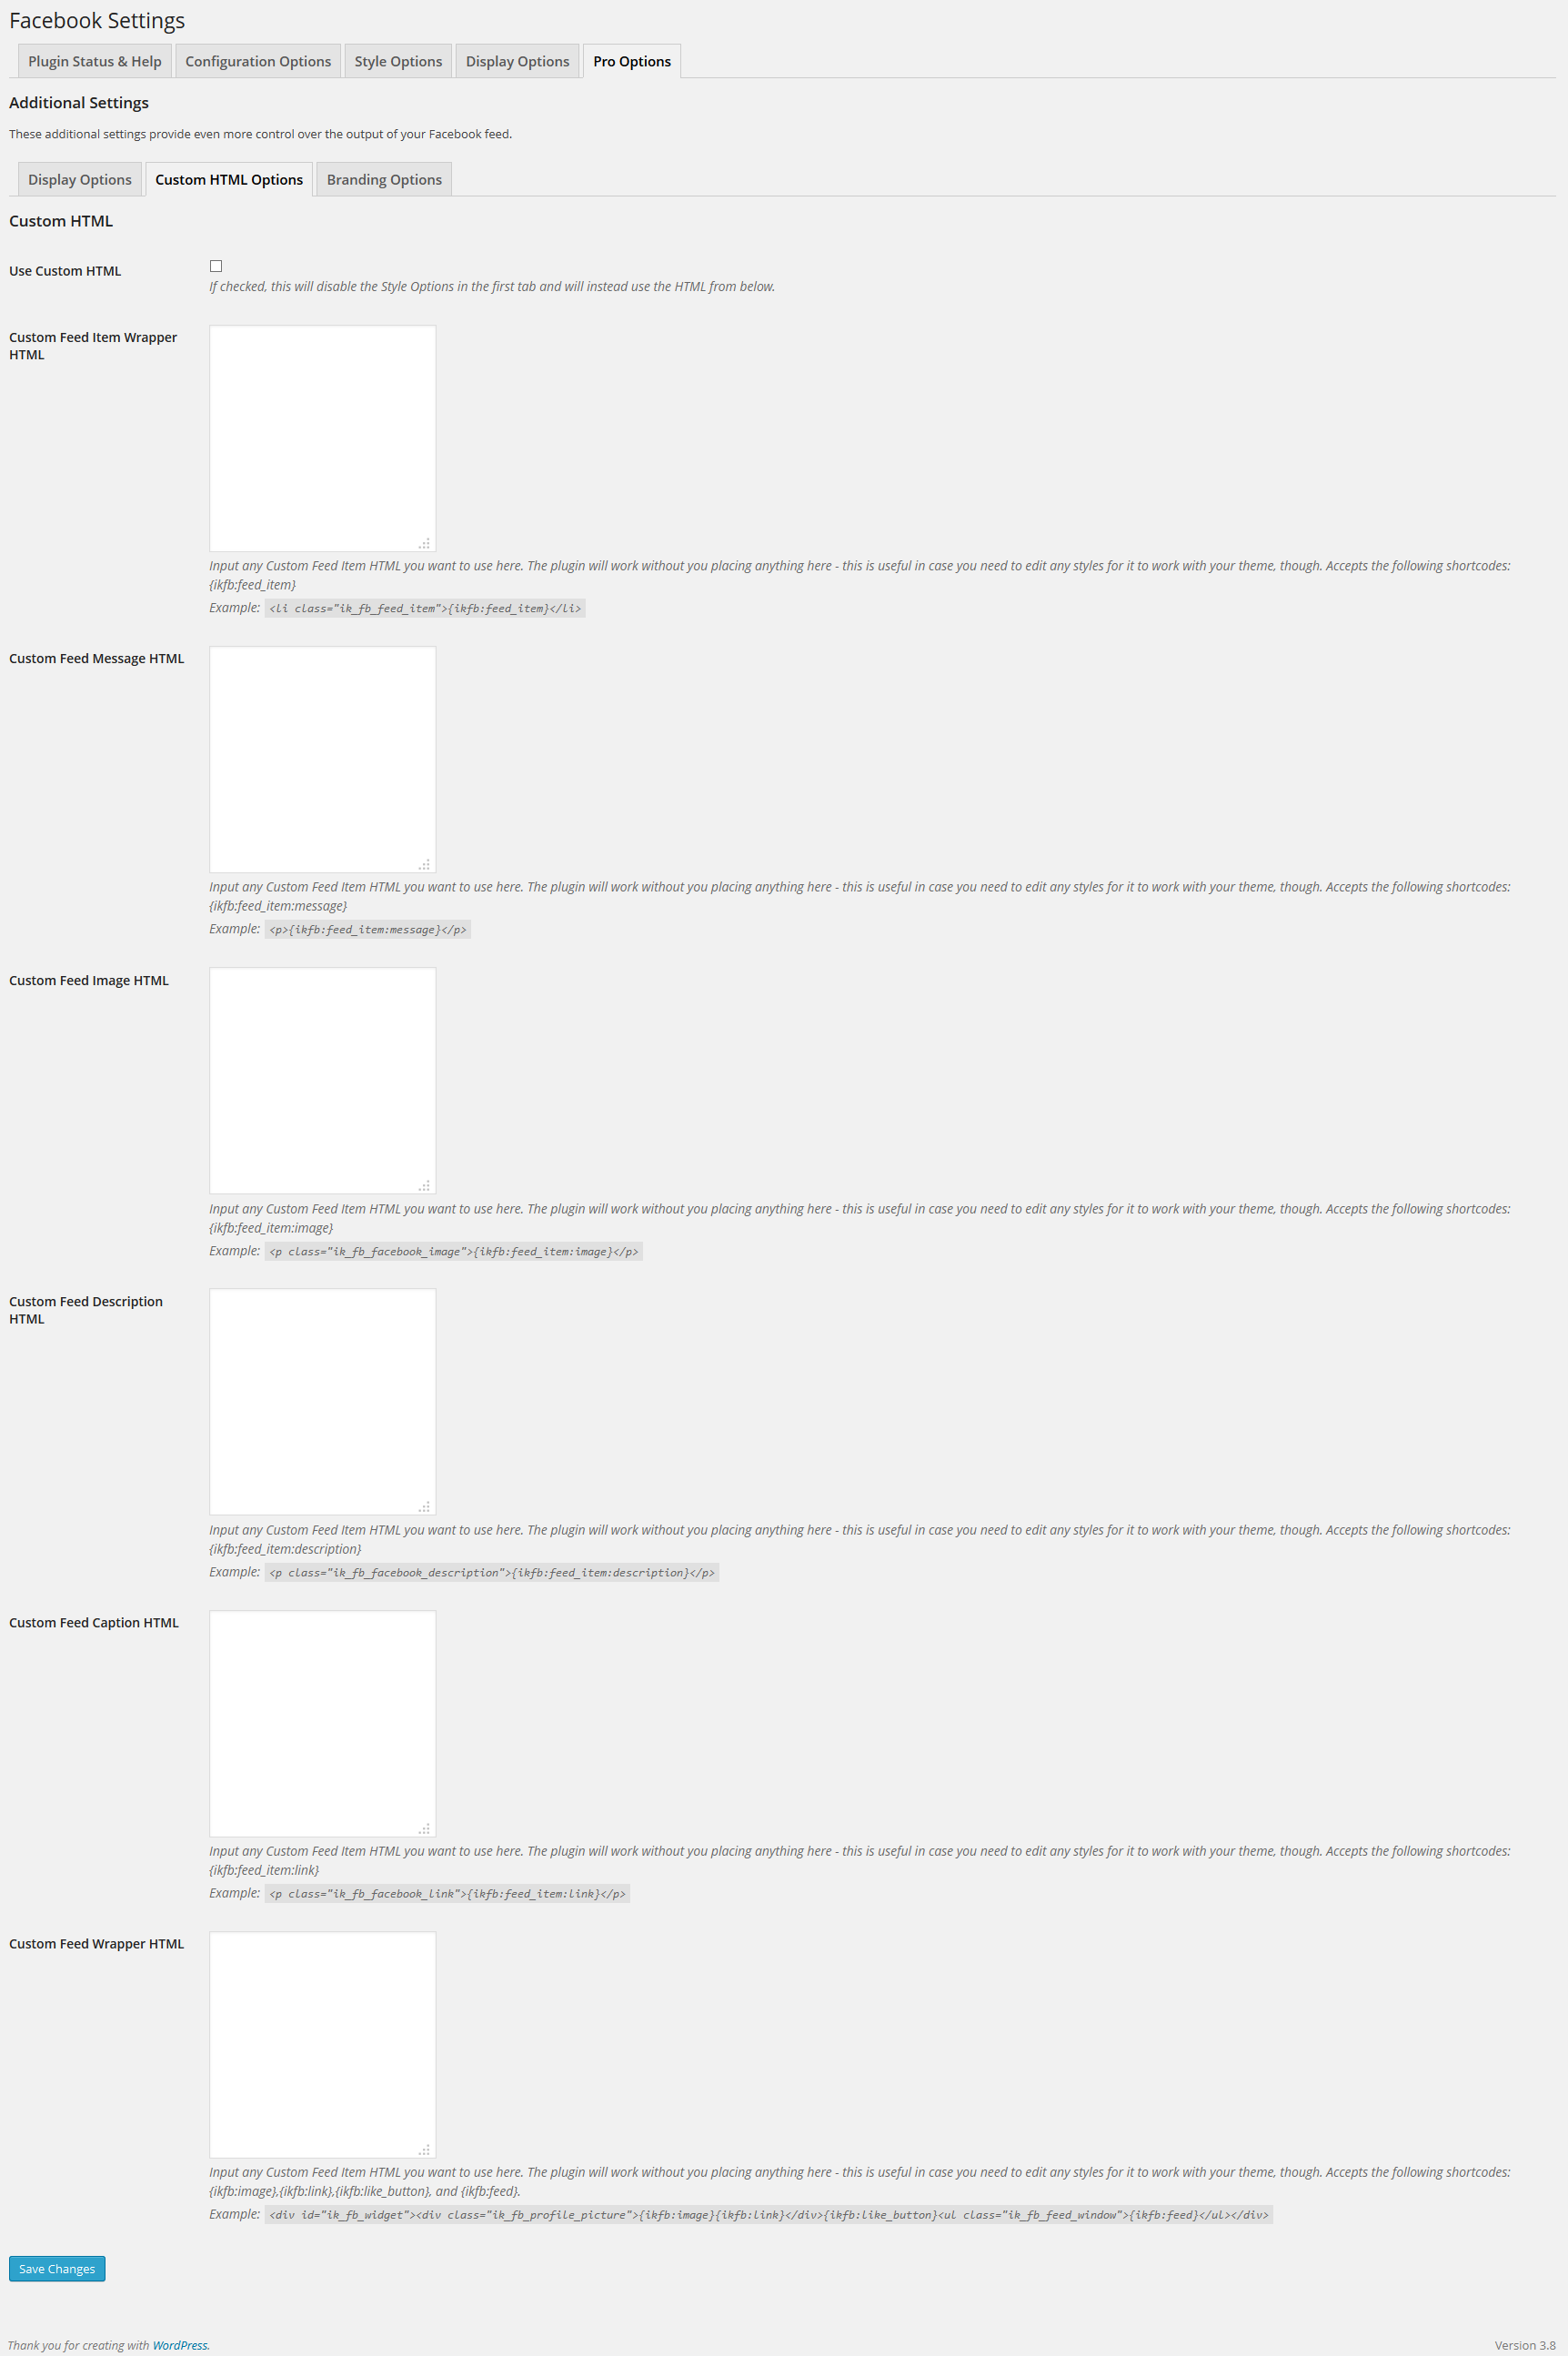
- Use Custom HTML: If checked, this will disable the Style Options in the first tab and will instead use the Custom HTML
- Custom Feed Item HTML: Input any Custom HTML you want used here, following this example:
<li class="ik_fb_feed_item">{ikfb:feed_item}</li> - Custom Feed Message HTML: Input any Custom HTML you want used here, following this example:
<p>{ikfb:feed_item:message}</p> - Custom Feed Image HTML: Input any Custom HTML you want used here, following this example:
<p>{ikfb:feed_item:image}</p> - Custom Feed Description HTML: Input any Custom HTML you want used here, following this example:
<p>{ikfb:feed_item:description}</p> - Custom Feed Caption HTML: Input any Custom HTML you want used here, following this example:
<p>{ikfb:feed_item:link}</p> - Custom Feed Wrapper HTML: Input any Custom HTML you want used here, following this example:
<div id="ik_fb_widget"><div>{ikfb:image}{ikfb:link}</div>{ikfb:like_button}<ul>{ikfb:feed}</ul></div>
Pro Branding Options

- Only Show Page Owner’s Posts: If checked, the only posts shown will be those made by the Page Owner. This is a good way to prevent random users from posting things to your FB Wall that will then show up on your website
- Hide Branding: If checked, our branding will be hidden from the WordPress admin
How to Output the Sidebar Widget
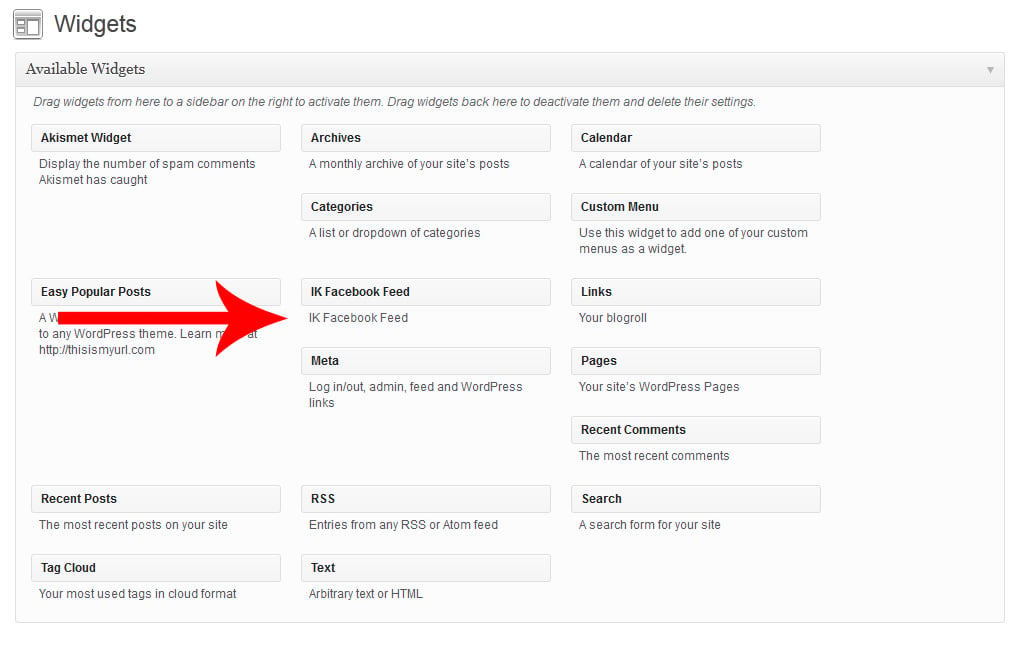
- Navigate to Appearance -> Widgets
- Drag the WP Social Widget to the widget area you want it to appear
- That’s it!
How to Output the Feed in a Page or Post
- Go to the Edit Screen of the desired Page or Post
- Input the shortcode
[ik_fb_feed]where you want it to appear. There are several optional attributes you can set on the shortcode, to override the global settings:colorscheme="light or dark" use_thumb="true or false" width="250" num_posts="5" id="123456789". If ‘use_thumb’ is set to true, the value of ‘width’ will be ignored. If ‘use_thumb’ or ‘width’ are not set, the values from the Options page will be used. If id is not set, the shortcode will use the Page ID from your Settings page. All of the options on the widget will use the defaults, drawn from the Settings page, if they aren’t passed via the widget - That’s it!
How to Output the Feed in a Theme file
- Open up the file you want to output the feed in
- Use the PHP function
ik_fb_display_feed($colorscheme,$use_thumb,$width);where you want the feed to appear - That’s it!
How to Add the Like Button to a Page or Post
- Go to the Edit Screen of the desired Page or Post
- Input the shortcode
[ik_fb_like_button]where you want it to appear. There are several attributes you can set, including:url="https://some_url" height"desired_iframe_height" colorscheme="light or dark". If you don’t set a URL, the button will like the current page being viewed. Values for height must be integers. - That’s it!
Click here to see an example Facebook feed.
How to Add the Like Button to a Theme file
- Open up the file you want to output the Like Button in
- Use the PHP function
ik_fb_display_like_button($url_to_like,$height_of_iframe,$colorscheme);where you want the Like Button to appear - That’s it!
How to Output a Photo Gallery from Facebook
- Go to the Edit Screen of the desired Page or Post
- Input the shortcode
[ik_fb_gallery id="539627829386059" num_photos="25" size="130x73" title="Hello World!"]in the body of a post. - Change “Hello World!” in the example above to whatever text you want to appear above your gallery.
- If no size is passed, it will default to 320 x 180. Size options are “2048×1152”, “960×540”, “720×405”, “600×337”, “480×270”, “320×180”, and “130×73”.
- If num_photos is not set, the Gallery will default to the amount set on the Dashboard – if no amount is set there, it will display up to 25 photos.
- The ID number is found by looking at the URL of the link to the Album on Facebook. For example, when looking at the following URL, you want to grab the number that appears directly after “set=a.” and before the next period – facebook.com/media/set/?set=a.539627829386059.148135.322657451083099&type=3
In this case, the Facebook Album ID is ‘539627829386059’.
Click here to see an example photo gallery.
How to Output a Facebook Event Feed
- Outputting an event feed is the same as outputting a Page Feed. The difference is the ID that you pass to the shortcode – you will want to use the ID of the event (found by looking at the number in the URL of the event on Facebook.) Our software will automatically detect that you are displaying an event and will take care of the rest!