Often times you will want to prevent visitors from accessing specific pages on your site until they’ve completed one of your Goals. This could be an age requirement, the reward for a lead capture form, or important Terms of Service that you want to make sure your visitors read before viewing your website.
Before & After’s Page Protection feature is designed exactly to accommodate these scenarios.
To use Page Protection, start by editing any Post or Page on your site, and looking for the Before & After meta box.
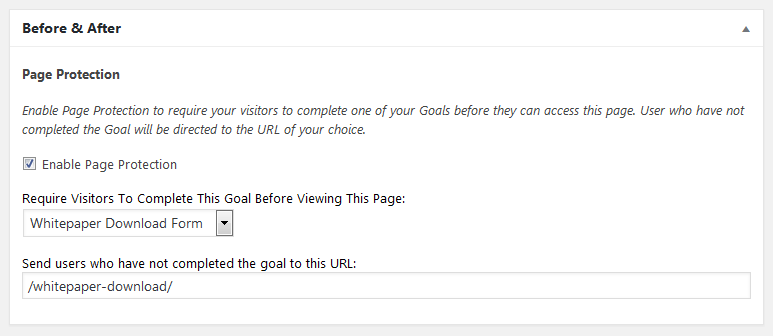
In the Before & After Meta Box,
- Check the box for “Enable Page Protection”
- Select one of your Goals from the drop down
- Enter a URL to send visitors to if they have not completed the goal.
- Save the Page/Post.
That’s all! You can disable Page Protection at any time by unchecking the “Enable Page Protection” checkbox and saving the Page or Post.
Note: if you use a caching plugin like WP Total Cache, or you host with WP Engine, be sure to exclude this page!
Now when visitors try to access this page, one of two things will happen:
- Users who have not completed the Goal will be redirected to the URL you specified (which will usually contain the Goal they need to complete).
- Users who have already completed the Goal will be able to access the page normally.
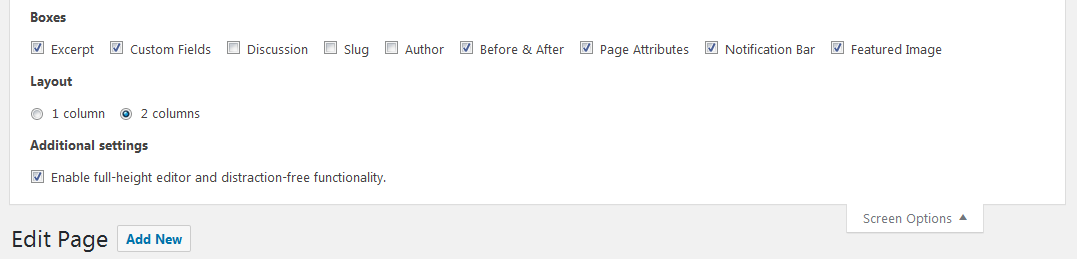
Tip: if you don’t see the Before & After meta box, click the Screen Options menu in the top right corner of the screen, and make sure there’s a check next to Before & After: