Collecting testimonials right on your site is a big time saver, but not when you have to filter out spam! This guide will show you how to enable Spam Prevention in Easy Testimonials Pro to cut out spam for good.
Spam Prevention Methods in Easy Testimonials Pro
Easy Testimonials Pro provides two different methods for preventing spam: Really Simple Captcha and reCAPTCHA.
Really Simple Captcha is a simple plugin, installed on your WordPress site, that generates images locally to use for captcha spam prevention. It is a lightweight, API key free method of preventing spam on your site.
reCAPTCHA is a free, robust spam prevention method that uses the latest methods of spam prevention to keep your site clean. reCAPTCHA requires an API key but contains the most robust spam prevention methods available.
Preventing Spam with Really Simple Captcha
Using Really Simple Captcha to prevent spam on your Testimonials form is easy!
First, you’ll need to install and activate the Really Simple Captcha plugin on your site. To do so, visit this link and follow the instructions. When done, return here and pick up where you’ve left off!
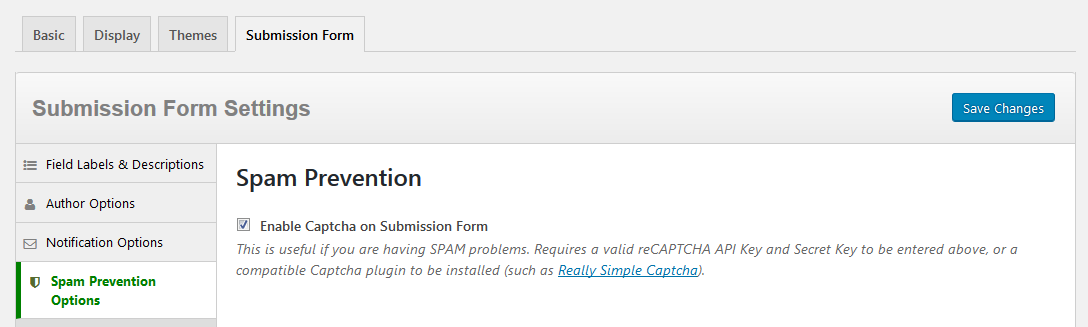
After installing Really Simple Captcha, navigate to Easy Testimonials Settings » Submission Form Settings » Spam Prevention Options and check the box labeled “Enable Captcha on Submission Form”. Once done, you’re all set! Don’t forget to Save your options!
Preventing Spam with reCAPTCHA
reCAPTCHA is a robust, effective method of blocking spam on your testimonial form.
To begin, you’ll need a couple of things: your reCAPTCHA API key and your reCAPTCHA Secret Key. Click here to get your free reCAPTCHA keys.
Once you have your keys, simply visit Easy Testimonials Settings » Submission Form Settings » Spam Prevention Options and input the information into their respective fields. After doing so, check the box labeled “Enable Captcha on Submission Form”. Once done, you’re all set! Don’t forget to Save your options!

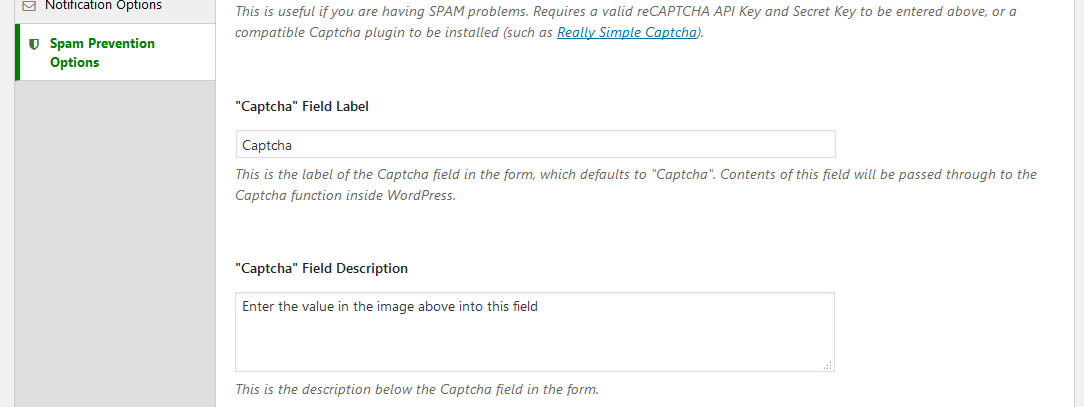
Captcha Label and Description
Below the “Enable Captcha on Submission Form” checkbox, you’ll see some additional fields that let you control the Label and Description of the Captcha field. Its good to provide users with an explanation about the fields and how to use them. Use these if you would like to customize the output of these to fields (e.g., “Are you a human?”).